
I consider myself an experienced chef. I started cooking in restaurants when I was 16, well I started cleaning dishes in restaurants but I moved onto salads fairly quickly. By the time I was in my sophomore year of college I knew I did not want to be a professional chef, and quit that job to restore furniture for a while before moving on to HVAC work when I moved and changed majors. However, I continue to cook for pleasure. Often, I find myself looking up recipes. Something I’ve noticed is that all the top (search) ranking recipes for just about anything claim to be “simple” or “easy” or “no-fail” plans. I’ve been experimenting with sourdough for some time now and can tell you that this is not one of those recipes (and thus it will probably never rank well, not to mention the fact I care little for SEO on my personal blog).
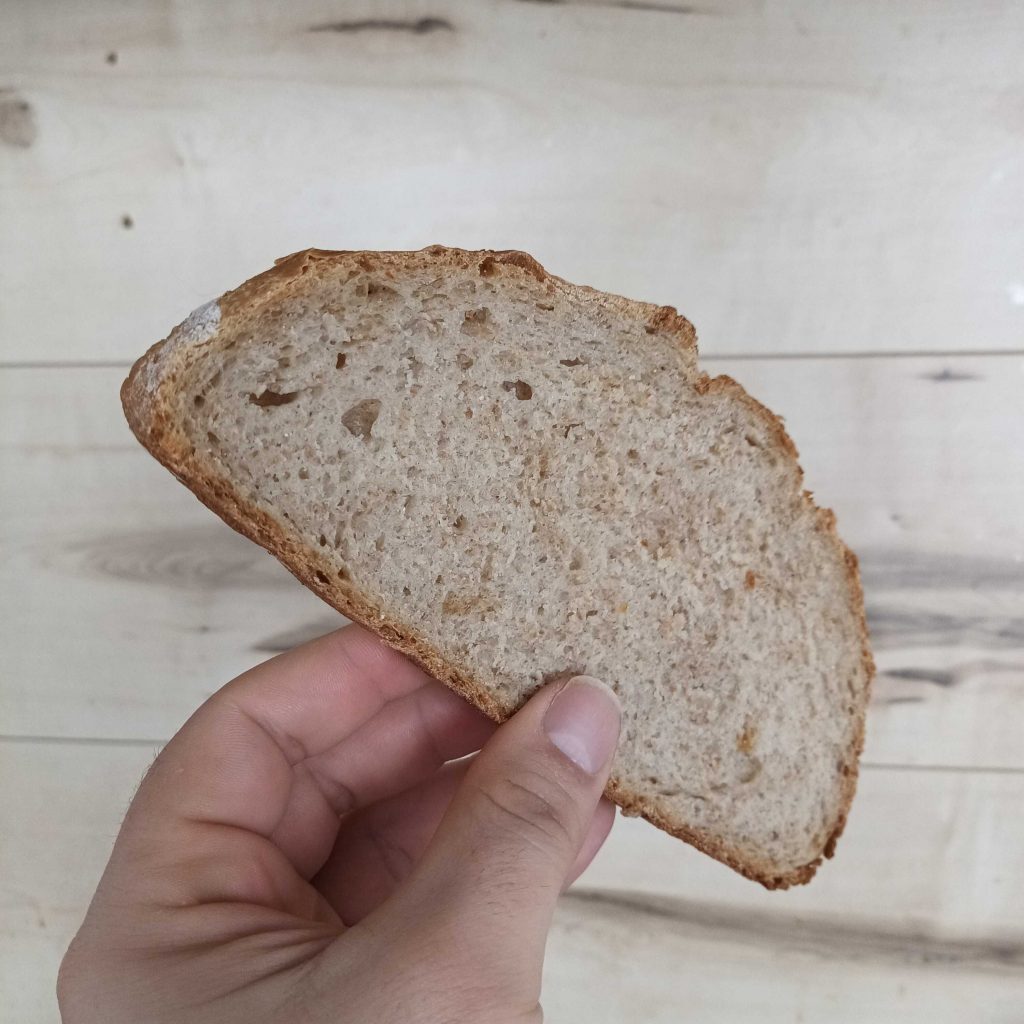
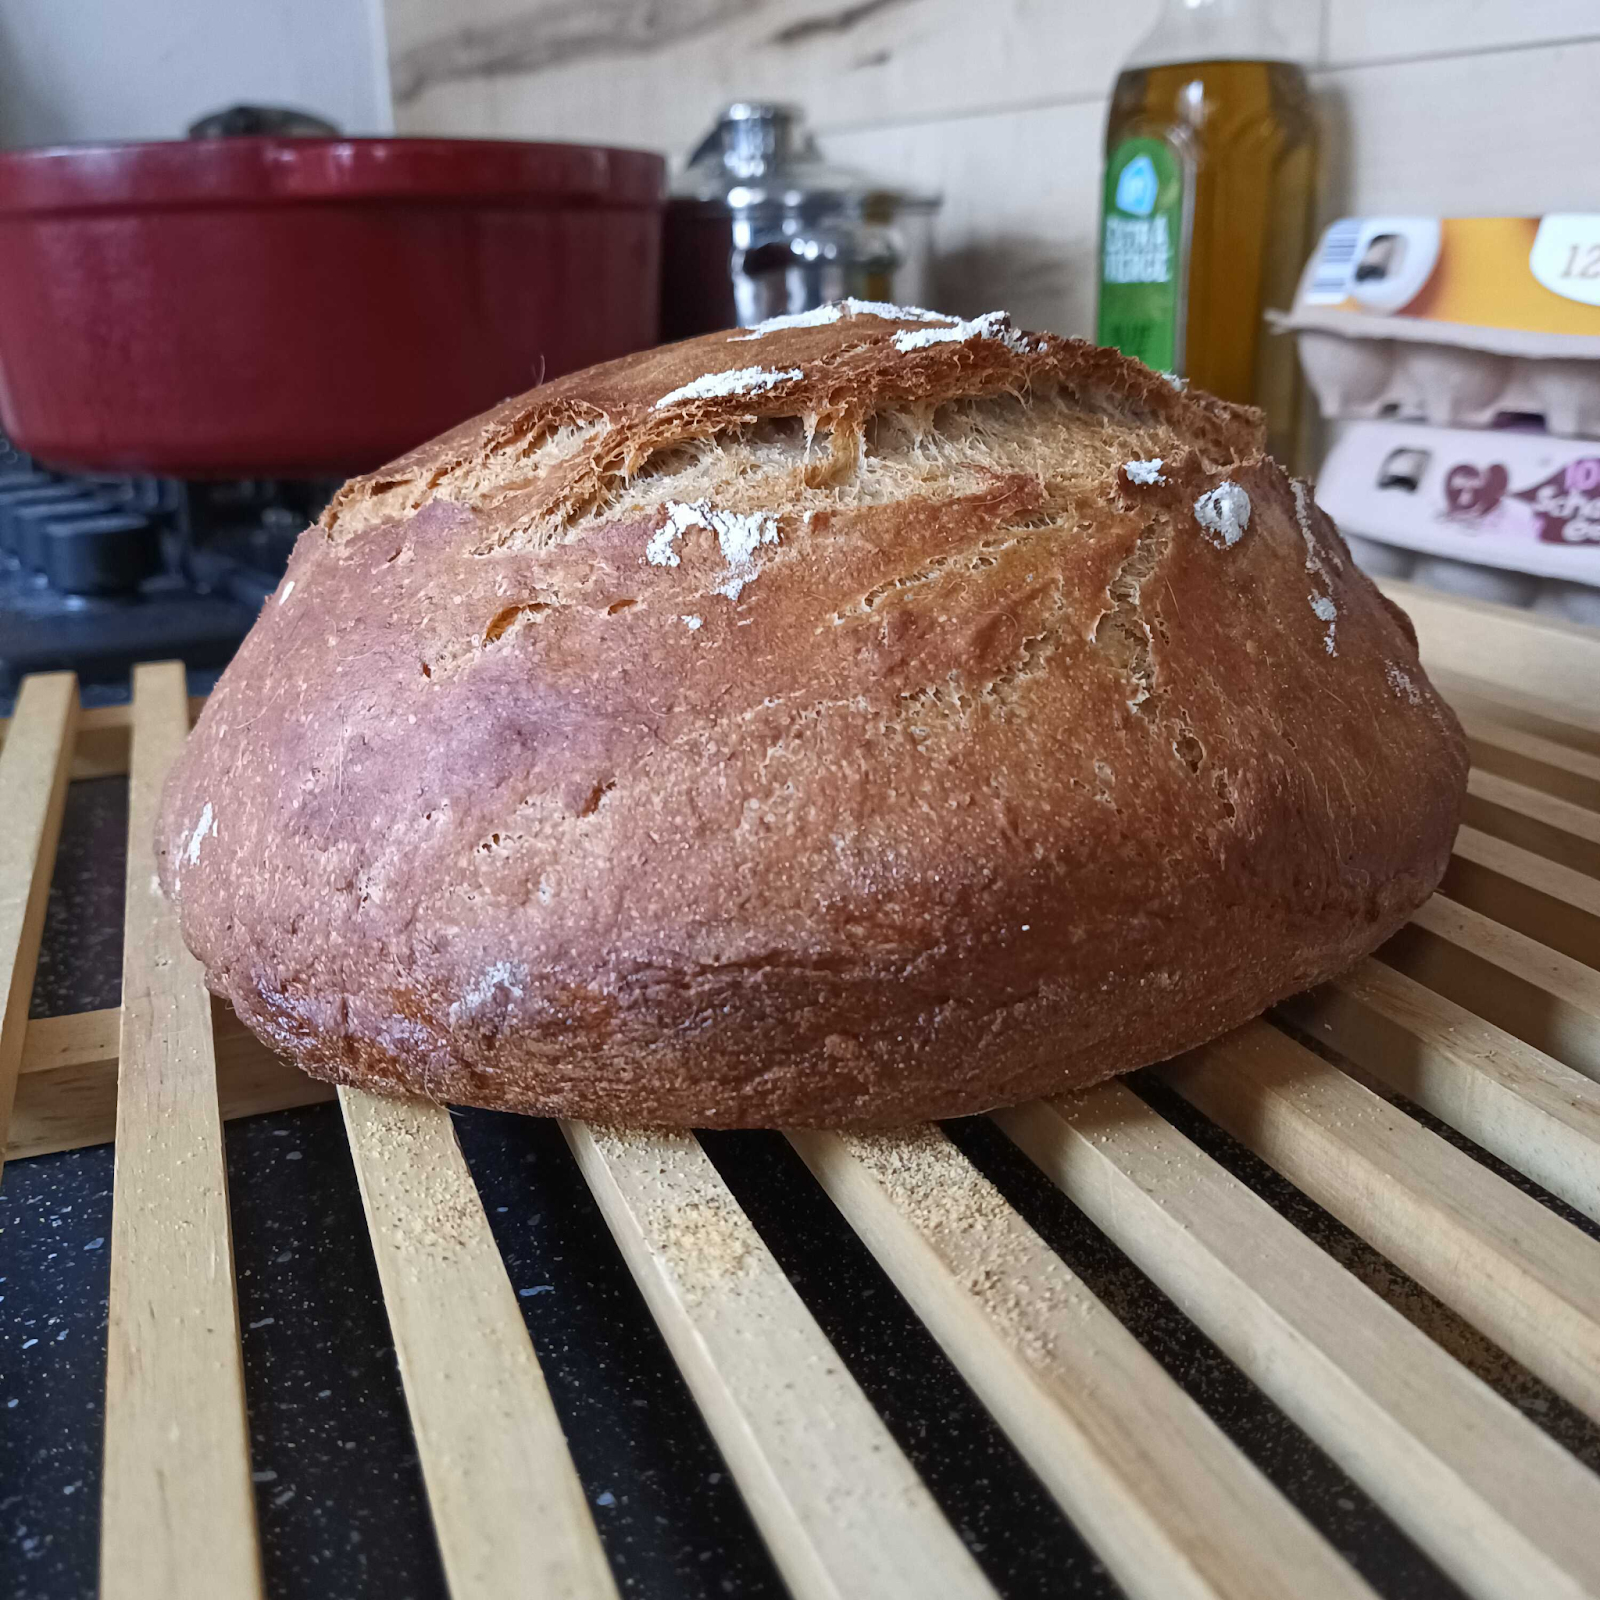
Every step of making sourdough is pretty easy, but put all together making good sourdough is a long and involved process that can easily go wrong. What I have for you here is a well tested recipe that will result in great tasting sourdough that looks something like this (depending on flour/s and/or beer you choose to use):
But, before we get there you will need to have a nice healthy starter going. If you haven’t already, please checkout my post about making a great starter using wild yeast (and maybe some sour beer bacteria if you are into that sort of thing). You’ll be able to make your first loaf of bread in a few days, though don’t expect any miracles. It will be a couple weeks before that starter is really mature enough to make excellent bread.
Without further ado, here is my recipe in 15 EASY steps. Just so you know, the way I make sourdough takes 6 to 8 hours (or more) from fridge to cooling rack so plan accordingly. We’ll talk a bit about each step in turn.
Sourdough Recipe
- 500g of a 50/50 mix whole wheat and spelt (sifted to remove much of the bran)
- 200g of warm water (or beer)
- 100g of milk
- 150g of starter
- 25g melted butter
- 1tsp honey
- 10g fine sea salt
- ½ tsp baking soda
- fine ground cornmeal (for dusting)
- Feed your starter the night beforehand and leave it out overnight
You want a happy and active starter for tomorrow morning.
- Soak flour the night beforehand for a lighter softer loaf.
For best results I suggest an overnight soak. To do this, sift and measure out your flour then mix in the 200g of water (or beer) evenly distributing the liquid. Put the whole thing in the fridge overnight. It should look a little like shredded cloth.
I like to use a mix of whole wheat and spelt. I got into making bread for health reasons. I have bad reactions to the preservatives in store bought bread, and I’m trying to cultivate a good gut biome, for more on gut health checkout my diatecian’s site Positive Gut. But, if you don’t care about all that, using multipurpose flour will work just as well and probably give you a better rise. Though it tends to come out a bit more wet. The beer will add a little flavor, a strong (but pleasant) scent, and some color (if you go for a darker beer). You will not get good hop aromas from using a nice IPA so don’t waste one on trying. The sugars in the beer will also get the wild yeasts in the flour working a little and can help with getting a better rise (in case you haven’t guessed it, getting a good rise is the hardest part and we’ll talk about that in due time).
- Prep your mixture.
I suggest waking up early on baking day and setting out your soaked flour to warm up. The first few times I did this I took the four right out of the fridge and started the mix, but getting a good consistency takes a lot of hand work and the warm butter isn’t enough to heat up all that flour so your hands tend to cramp up a bit.
Whisk the starter, milk, melted butter, and honey together in a large bowl. Add the soaked flour and salt. Mix all that goodness together with your hands, squeezing all the big lumps out as much as you can
Feed the starter with 70grams of freshly ground wheat (or all purpose flour if your feeling lazy) and store it for a return to its regular feeding schedule.
- Let the dough mixture rest for 1 hour.
Cover the bowl with a damp cloth and leave it out to rest for an hour. I’ve found the ideal temperature for resting and rising the dough is about 30℃ (or roughly 86℉). In cool weather I like to place my bowl near the radiator. Spring is hard because you don’t want to be heating your house when it’s 18℃ outside so I suggest taking all the times in this recipe and multiplying by 1.5 when the temperature outside is warm but not hot. In the Summer, if your house is temperature controlled you can place the bowl out on a porch or something. Just be careful of critters, and make sure that cloth is really damp, not so much that it’s dripping water onto your dough, but enough that it keeps flies from getting in there.
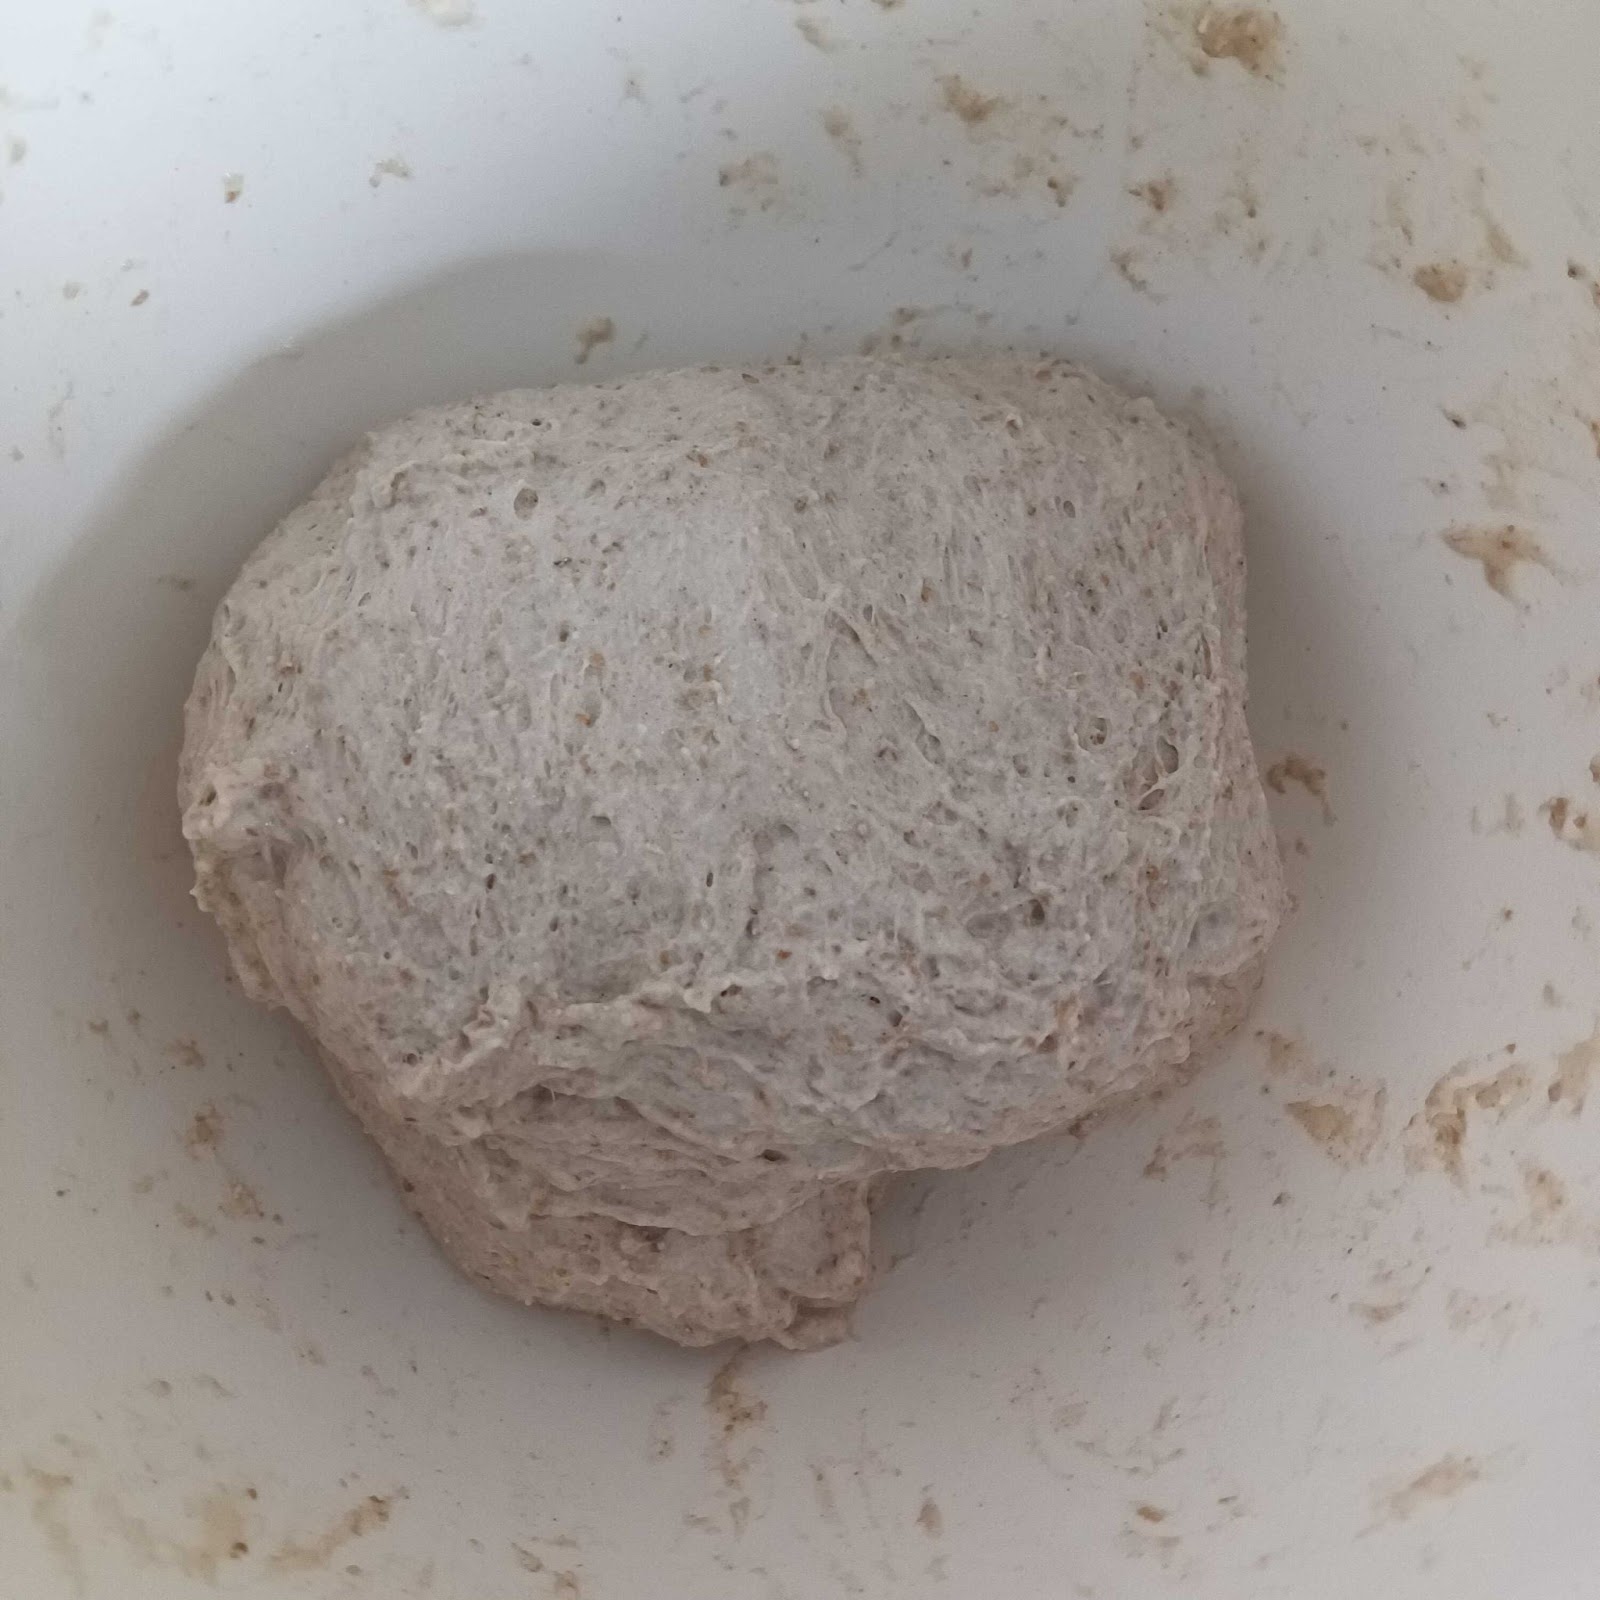
- Work the dough into a rough ball.
Get all the little bits off the side of the bowl, should take less than a minute. Here’s a pic for reference:
- Let the dough rise for 30 minutes, then stretch and fold.
This will get some nice air into your dough and help the yeast get busy.
Do this no less than 8 times at a resting temp of 30℃. At colder temps you will probably want to do this more like 10 to 12 times. The dough should have a consistency somewhere between Gak and warm Playdough, and hold together pretty well when stretched to a 3 ply toilet paper thinnes. If you use beer sometimes you will end up on the Gak side of things, that’s okay but you might get some spreading during the final bake.
In the event of an overly wet dough, to help with surface tension building you might throw as much as 25 grams of all purpose flour in there around fold 4 or 5 (by then you should know where you’re heading. I suggest only doing this once you’ve made a few loaves and have a feel for the dough.
Cover the bowl with a damp cloth between foldings. Here’s a nice video on the stretch and fold technique for reference. That’s also a good reference for the consistency of the dough you are looking for, though a little less gooey is fine especially if you are using whole grains.
- Knock the dough back.
Prior to shaping, sprinkle some flour over your work area and start spreading and folding the dough to give it good surface tension. Here is a link for reference, this is also a good starter video for a few references like dough consistency, and this loaf is a bit easier to make. I started with this process and you could too (if you’re getting scuured).
- Shape the dough.
After you’ve knocked the dough back, spread it out like a small pizza and add half the baking soda as a thin dusting on the surface. Fold it up and do that again. Then shape the dough. Here’s a nice shaping video. It’s probably important to keep in mind this person has already dusted the surface of their work area with flour. Don’t forget that bit.
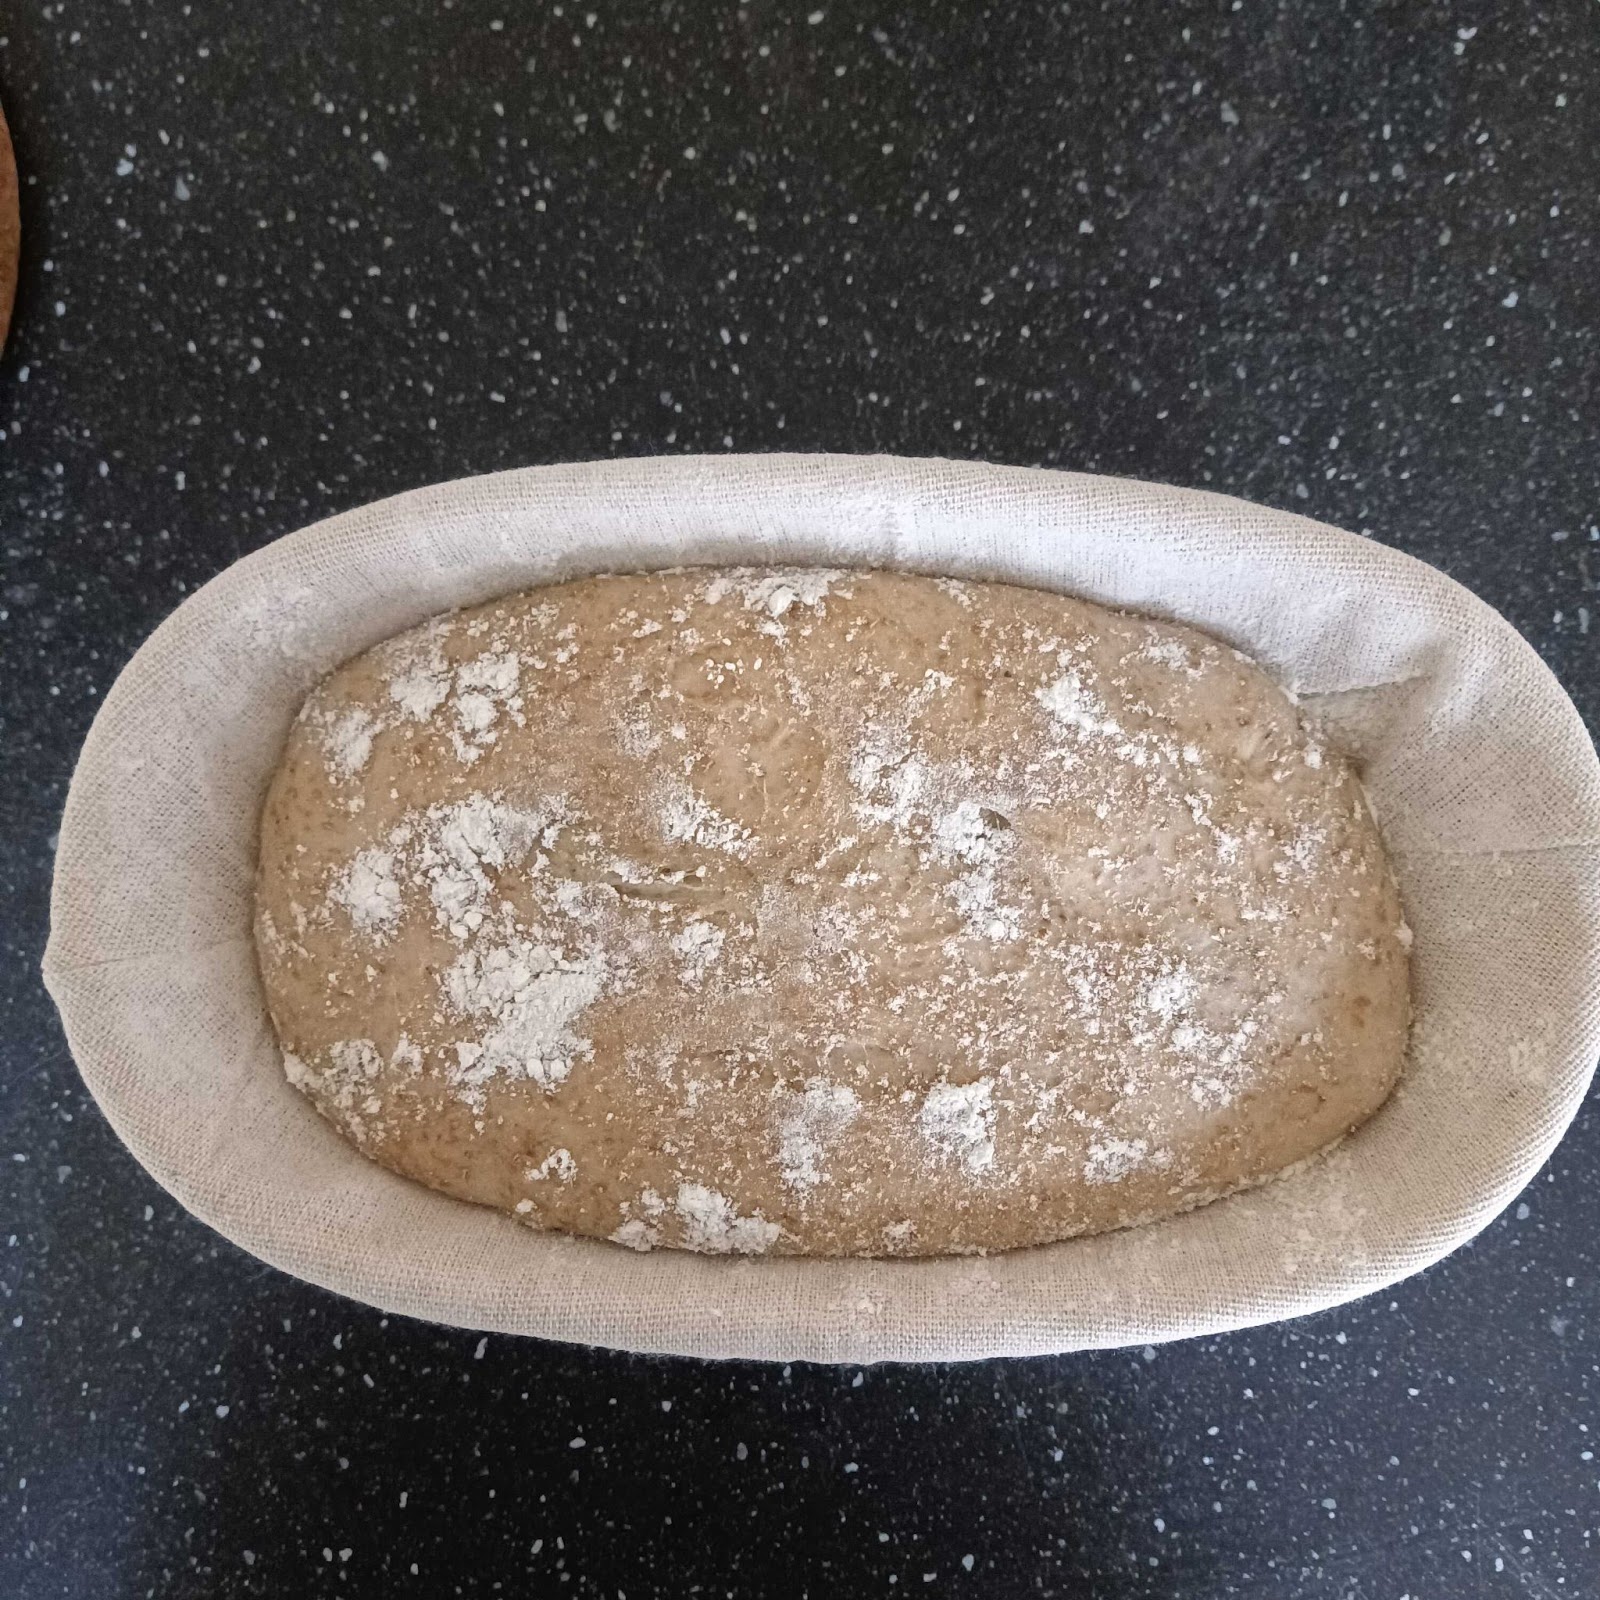
- Proofing rise.
Place the dough surface down into a floured proofing basket. If you don’t have a proofing basket a bowl with a thin weave towel in it will work. Put some flour on top of the dough and let it rise for about 1.5 to 3 hours depending on the room temperature. When it goes in it should look something like this:
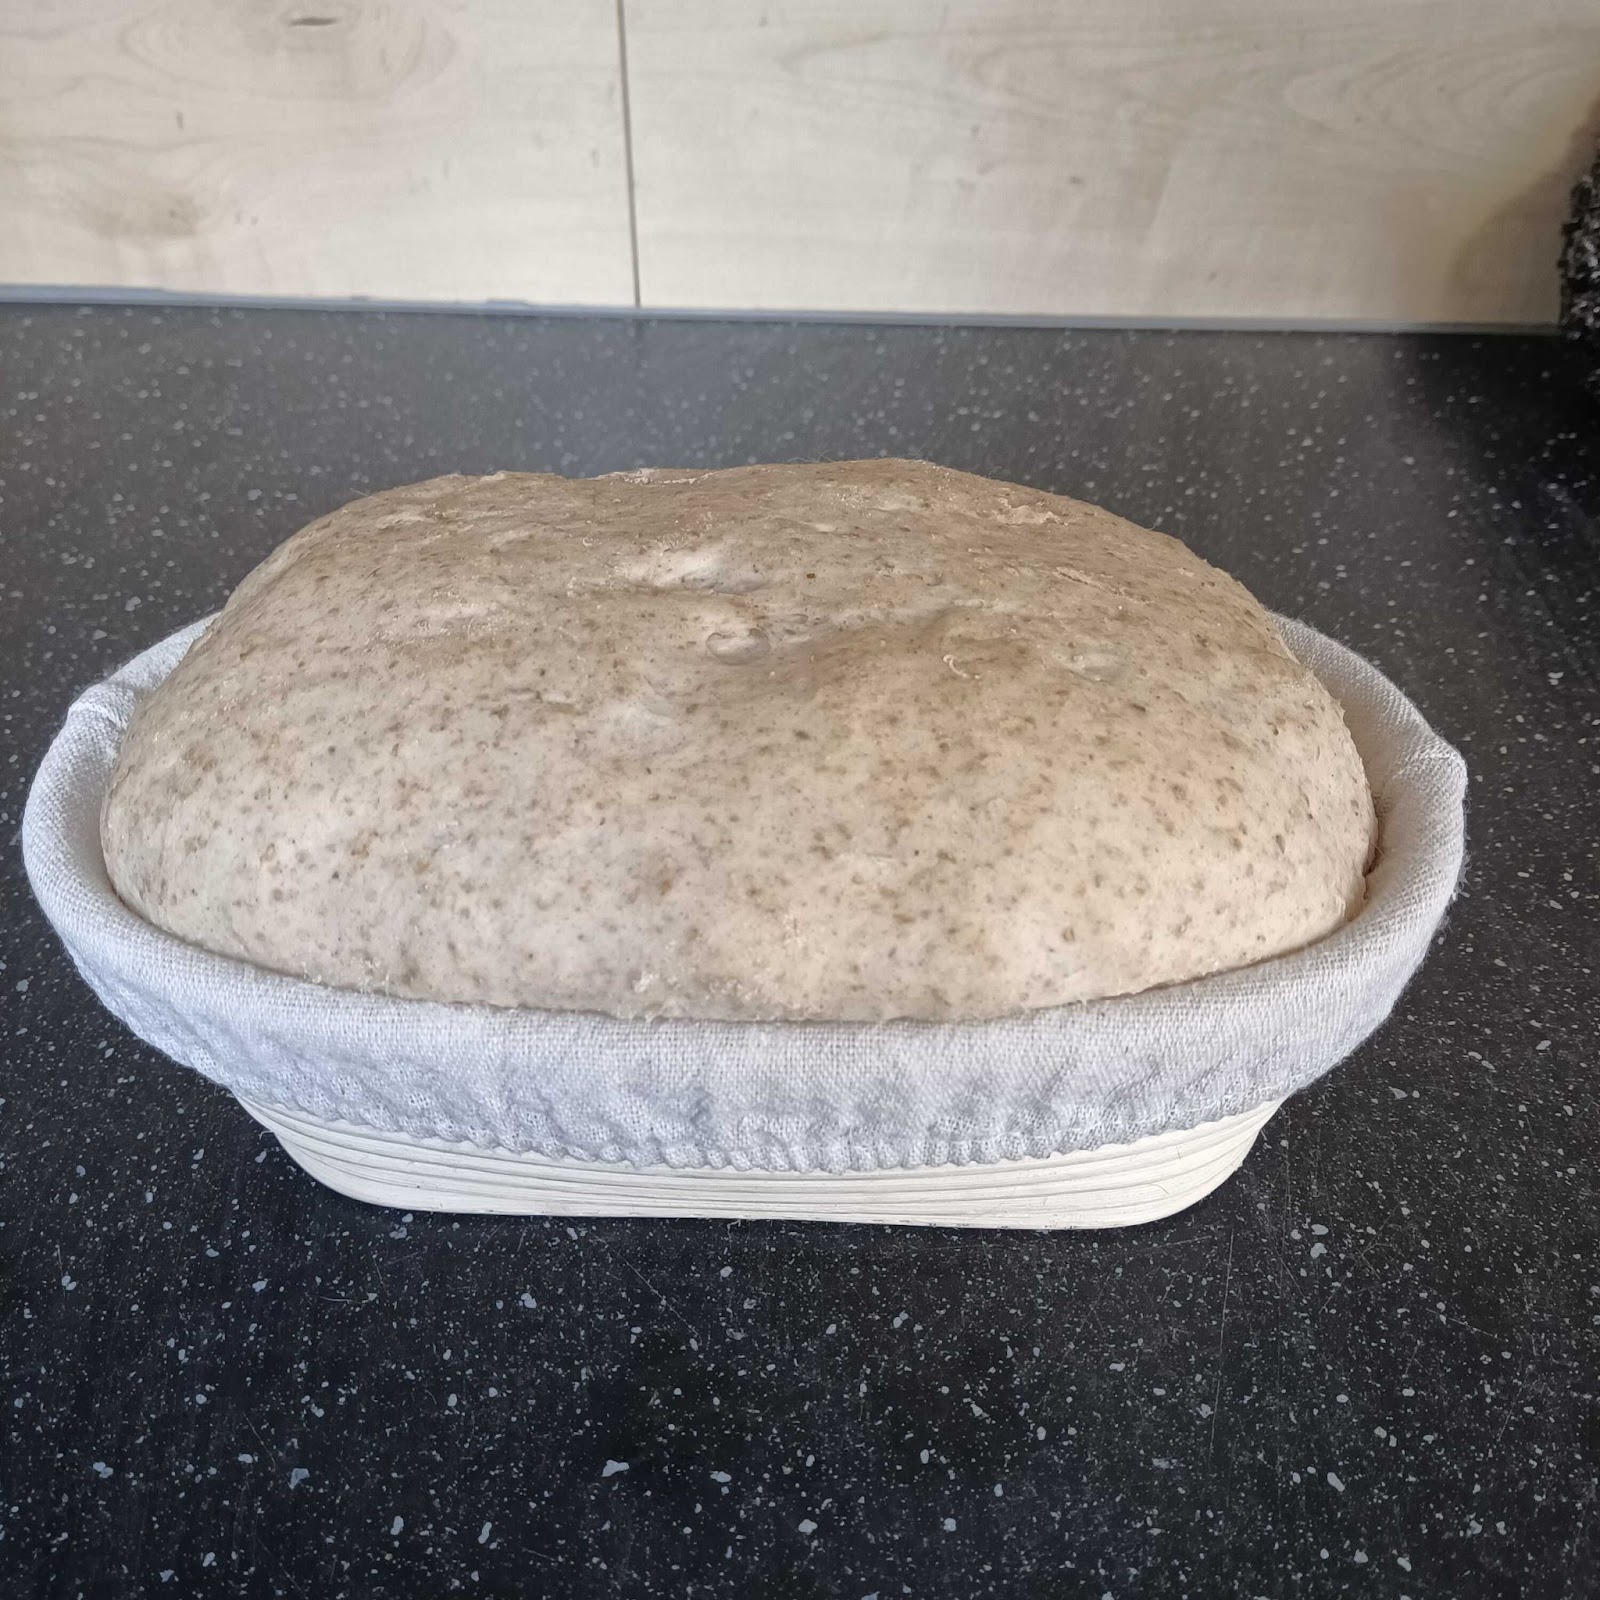
Keep an eye on it, you want to bake at peak rise. When it is at peak rise it should look like this (this is a good rise don’t worry if you don’t quite get this height on your first try):
- Prep the oven.
When you know you are about 20 to 30 minutes from peak rise start preheating the oven to 235℃ (455℉) with your dutch oven inside. Once you are at the desired heat, take the dutch oven out and place it on a hot pad. Quickly but carefully coat the bottom of the dutch oven with a dusting of cornmeal.
- Drop and score the dough.
While the dutch oven is still piping hot, turn the proofing basket over as close to the inner surface of the dutch oven as you can manage without burning yourself. Immediately slash the surface along the length with a sharp knife or bread blade.
- Spraying the surface of the shaped dough generously with water.
I like to use a spray bottle that has garlic water in it (water that had bits of garlic soaking in it for a day). The garlic water leaves a nice aroma when cooking, doesn’t hurt the bread, and can be used to keep aphids off your plants. The water itself adds to the steam which is really great during the covered bake.
- Covered bake
Reduce the oven setting to 220℃ (428℉). Place your covered dutch oven in to bake for 20 minutes.
- Uncovered bake
Reduce the oven setting to 200℃ (392℉). Uncover the dutch oven and bake the bread for an additional 30 minutes (or until the outside is the right shade of brown). If you want to take a scientific approach as I did the first 10 or so times, then take the internal temp of the bread (start after 30 minutes and take every 5 minutes). The bread is done when the internal temp is btw 96℃ – 99℃ (205℉-210℉). The bread should look something like this:
- Cool for at least an hour on a cooling rack.
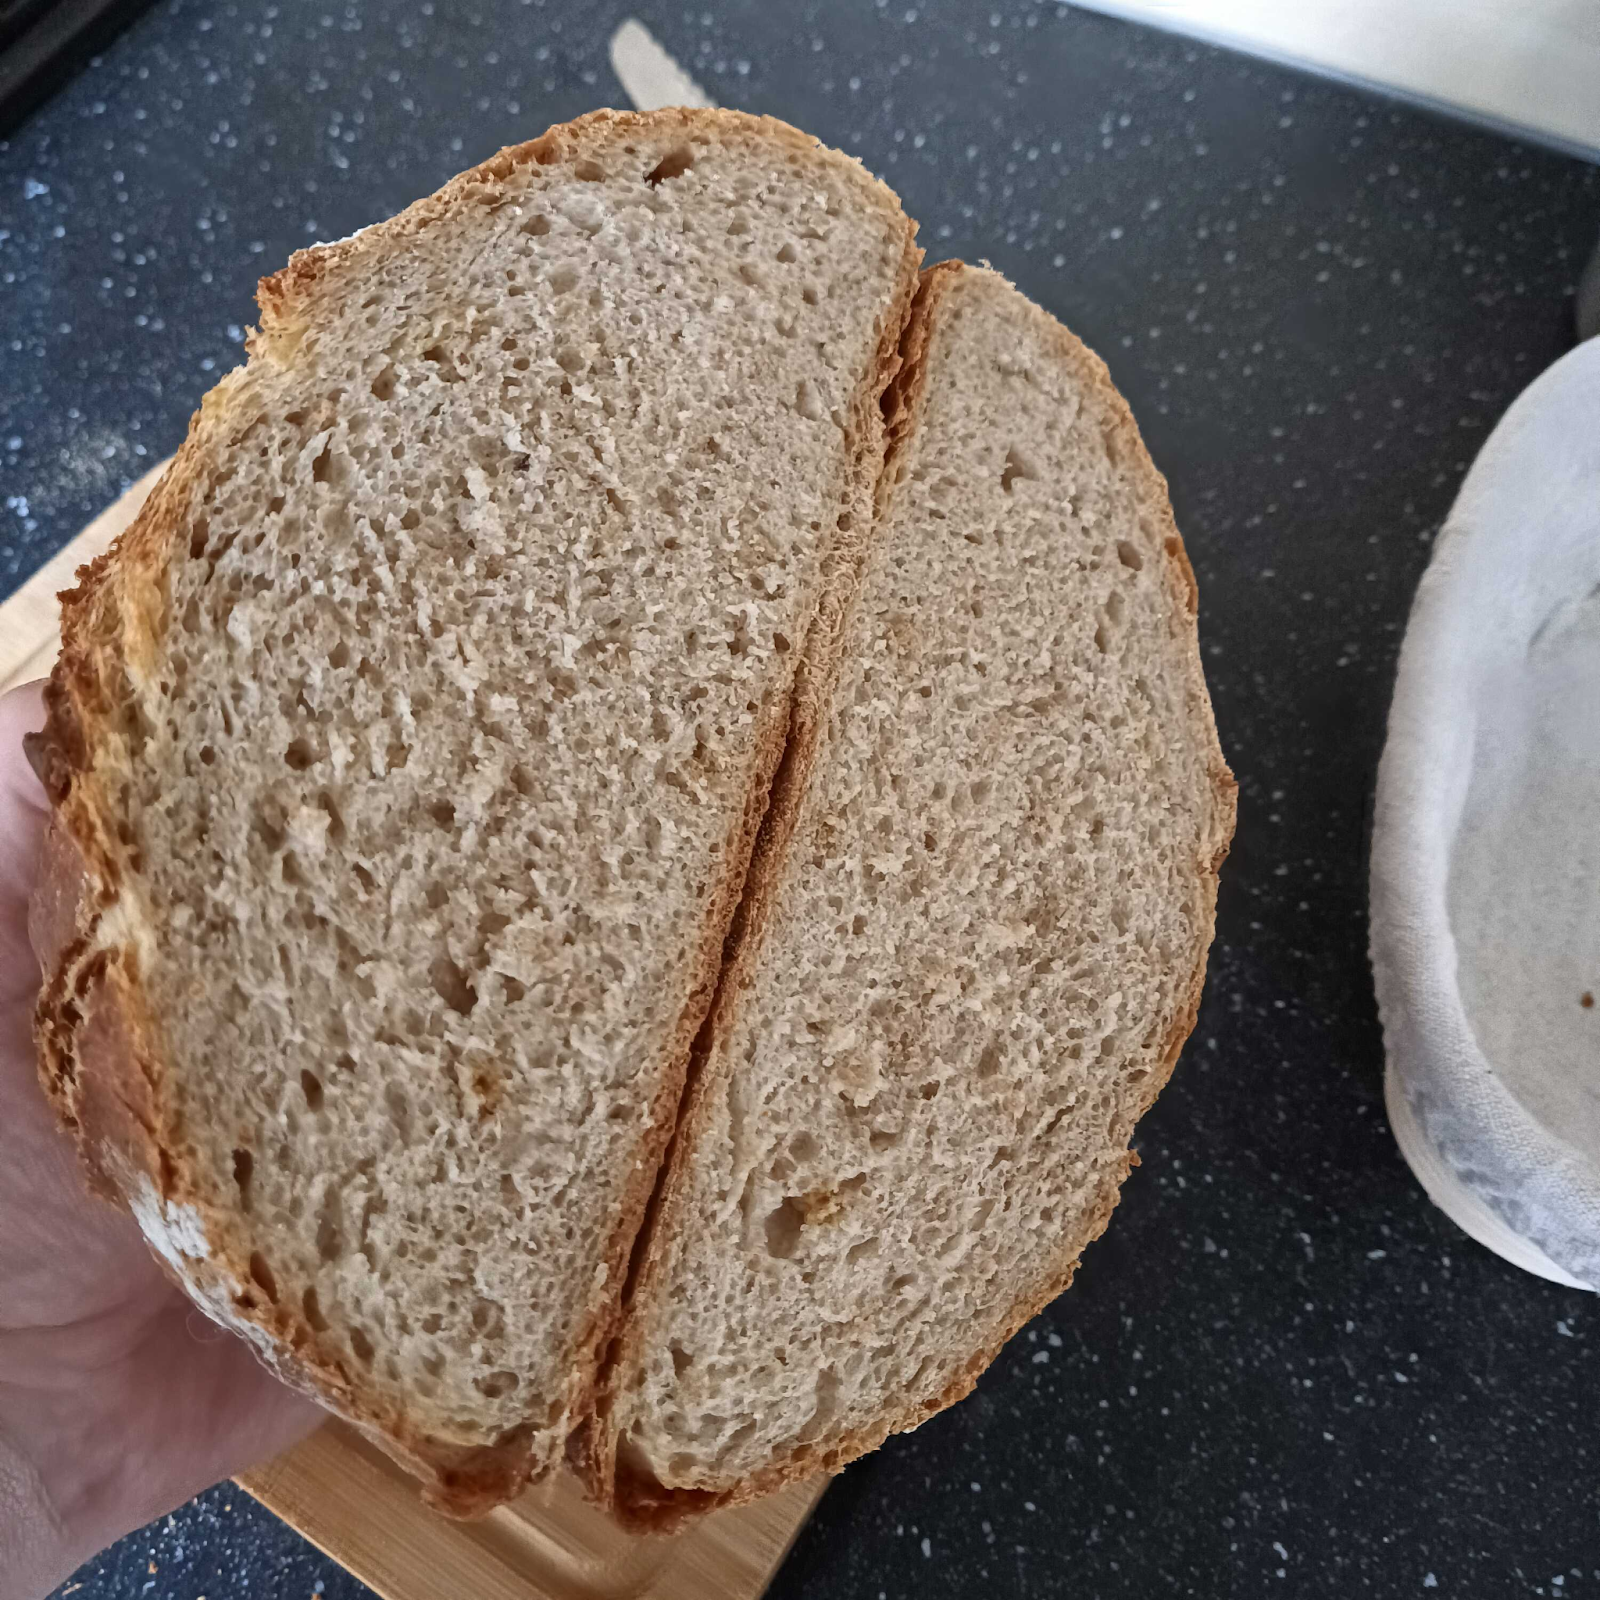
After one hour you can slice it. If the bread seems gummy (leaves gum on your knife) stop cutting and let it cool for longer. Here’s a first cut of a loaf for you:
That’s it, that’s my recipe. It takes a while but gives good results. You can do fun things like rolling the dough in sesame seeds before placing it in the proofing basket, or maybe throw some herbs and spices in the dough during the shaping. Have fun and be creative.