As a brewer I have a lot of ingredients that, surprisingly, we don’t think about much when it comes to baking. In my home I have malted grains, I have wheat, I have yeast. Oh we think about this stuff in the sense that we think about where we need to go buy this in it’s preprocessed form to follow our baking recipe. But, when was the last time you ground your own grain flour? Okay, yeah, I realize that question sounds pretentious, but bear with me.
A few years ago I got pretty fat, and over the last year I’ve been working with a dietician to get healthy. In 2020, I really focused on cultivating good gut health and getting my blood pressure down. And, while I shed a few kilos, this year is the year of weight loss. All this is to say that I’ve drastically changed my eating habits, and for the most part, when I eat bread now, it’s sourdough.
However, good sourdough is kind of a chore to go buy, especially in winter in the Netherlands. It might not seem like a 15 minute bike ride down to the baker isn’t a big deal, but over icy terrain in the bitter cold… Would you be psyched to do that? Ah, well, maybe you would, I’m not. Also, I’ve been starting my own company, so my budget is tight and artisan bread is expensive. So, I decided to make my own sourdough, after all I have some good ingredients on hand, at the very least for a starter.
A starter is a wild yeast cultivation, and I have a ton of wild yeast floating around in my home, presumably, I mean I brew beer at least once a month. So, I figured, ‘Why not try to get a good one going?’ Then I can make all the sour dough I want and I won’t have to ride across town for it. I did some research on starters and all you really need is water and flour.
The key to a good starter is the natural occurring microbes that eat all the simple sugars provided by your water and flour slurry. The two big players (or really groups of players) here are the wild yeasts and lactobacillus strains (lactic acid creating bacteria), the later being responsible for the sourness of your starter. But, don’t take my word for it, you can read more here. While store bought flour probably has enough lactobacillus on hand, I thought some brewers wheat would have quite a bit. Which brings me to step 1.
Note about the coming steps: While you want to cultivate wild yeast you probably don’t want any old thing in there. So wash your hands, and sanitize your measuring devices and utensils (with boiling water).
Step 1: Finely grind 50g of wheat.
For this I used a clean hand coffee grinder, if you’re a brewer you might be thinking your grain mill will be okay but it probably won’t get it fine enough.
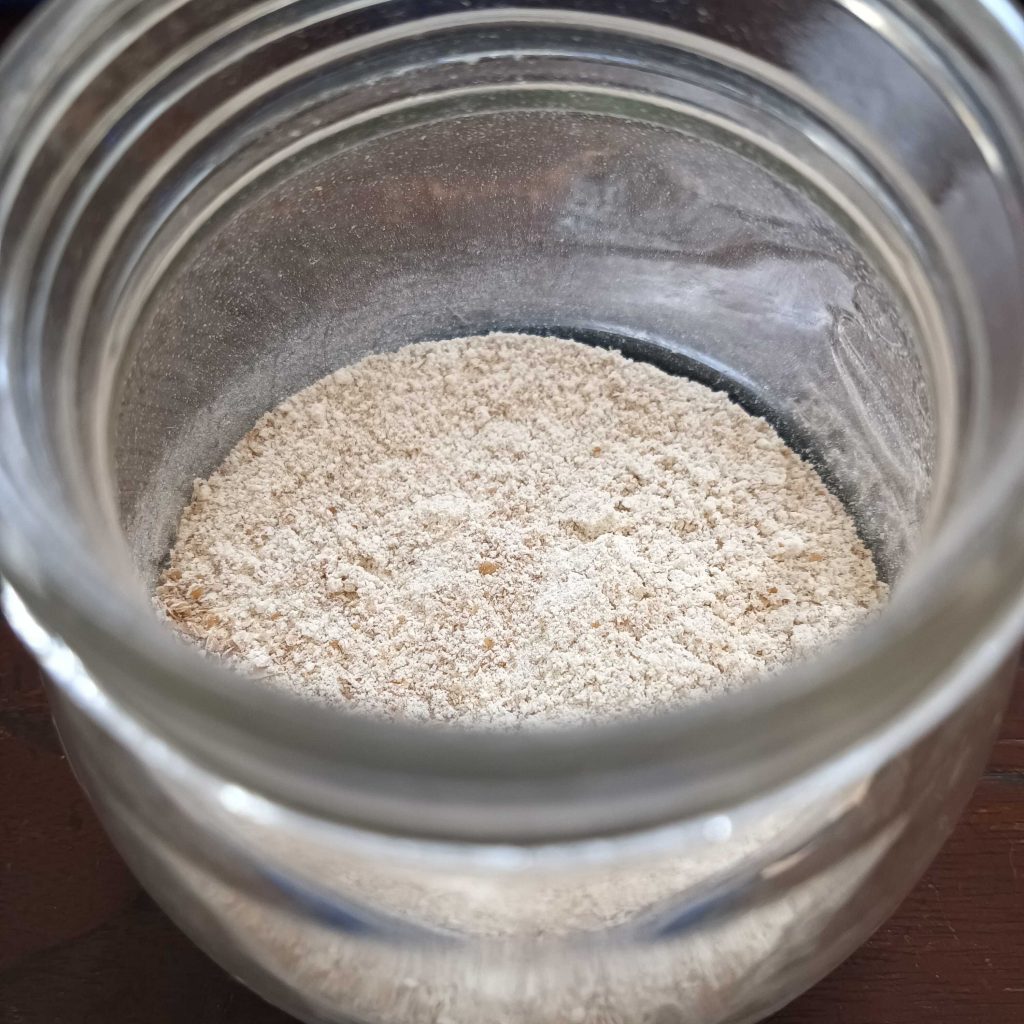
Step 2: Combine with 50g of water in a 1 liter covered jar, and place in a warm spot for 48 hours.
You’re looking for 24℃ to 27℃ (Roughly 75-80℉). I put mine near the radiator, but not too close. Don’t pour off the hooch (the brown watery substance that smells like feet that have been in boots too long) if you get any. In the future this will be a strong indicator your starter needs feeding, and you’ll pour this off prior to doing just that. But, for this first period, just let all your little microbes grow, it will be fine.
Step 3: First feeding.
Add an additional 50g of water along with 50g of all-purpose flour. If, like me, you wish to make your own all purpose flour it is pretty simple (if time consuming), check out this video. After you’ve added your water and flour, cover the jar and let it warm again for 24 hours.
Step 4: Feeding 2 & optional inoculation.
Pour off any hooch and then discard a bit more than half the starter. Feed it 100g of all-purpose flour and 100g of water. You can leave it like that and skip ahead to Step 5 or take a chance on the optional step below.
Optional Step: Now, here’s where things get interesting for my brewer friends (not that anyone reads this blog). If you have a favorite lactobacillus strain and you want to get some really interesting bread, go ahead and throw some in there. If you are new to brewing or don’t have your own cultures, that’s okay: probably the easiest thing you can do in this case is get one of the WildBrew bacterial cultures from Lallemand (you can buy these at most online homebrew supply retailers). Add a small amount to your starter (like the smallest amount you can measure on your scale, for me that’s 1g).
The great thing here, again if you are a brewer, is you are creating an interesting microbiome that will be good for making sourdough, but also for making funky sours in the future. Though I would suggest using a kettling methodology, otherwise some not so nice yeasts could out-compete any beer yeast you pitch. If you just straight up use the sourdough starter to create a yeast starter or direct pitch (and then don’t kettle after 3-5 days), you will probably end up with something containing butyric acid (which might smell vaguely of vomit or rancid cheese), so I recommend against this course of action. Anyway, my point is if you keep your sourdough starter alive it can “wear many hats” in your home funkatorium. Ooooh, new idea, I wonder if this could make interesting kimchi…
Step 5 – 7: Continue Feeding
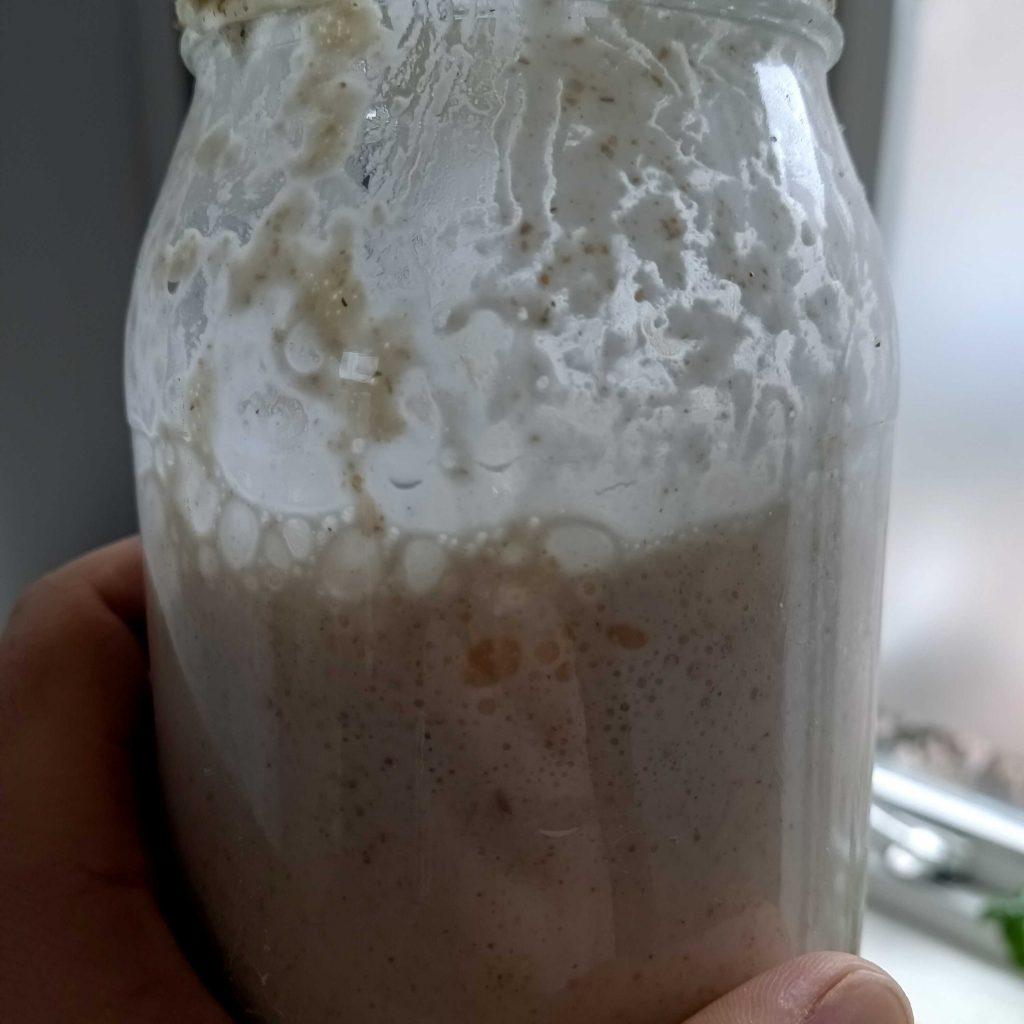
Pour off any hooch and then discard about half the starter. Feed it 100g of all-purpose flour and 100g of water. Do this about once every 24 hours. All the little microbes should be pretty active now and the starter should start to bubble up quite a bit between feedings. When things start to settle down (the starter begins to fall back down to its size when it was last fed) then you know it’s time to feed the little beasties again.
Step 8 – Infinity: Transfer, Store & Feed Periodically
Get a nice clean jar and transfer your starter to that. If you can, keep it at room temperature and feed it everyday (the lactobacillus strains will be competitive at room temp where as in cool temperatures they will be less active than their wild yeast counterparts). Or, put it in the fridge and feed it (same way as before) about once a week. Keep an eye out for hooch formation, as I said before that’s a good sign the starter needs to feed.
7th Day Results:

Bread Recipe Coming Soon…
Honestly, I’m not happy with the density (texture) of my finished sourdough yet. But, the flavor is good. I think it is just a mater of water ratios and rise times (I’ve been a little impatient and tried to do a sourdough in a day). When I have a method that yields a result I’m happy with, I’ll try to take the time to post it here. If anyone actually reads this and wants to point me to their favorite bread making process (that can be done with a simple oven) shoot me an email or tweet at me.